I’m in de-stashing mode. Full on, no holds barred, get ‘er done destashing mode! So, what does that look like? Well, for me, it began with re-reading Marie Kondo‘s book, The Life-Changing Magic of Tidying Up. (You really should read it if you haven’t already. It’s a game-changer!)
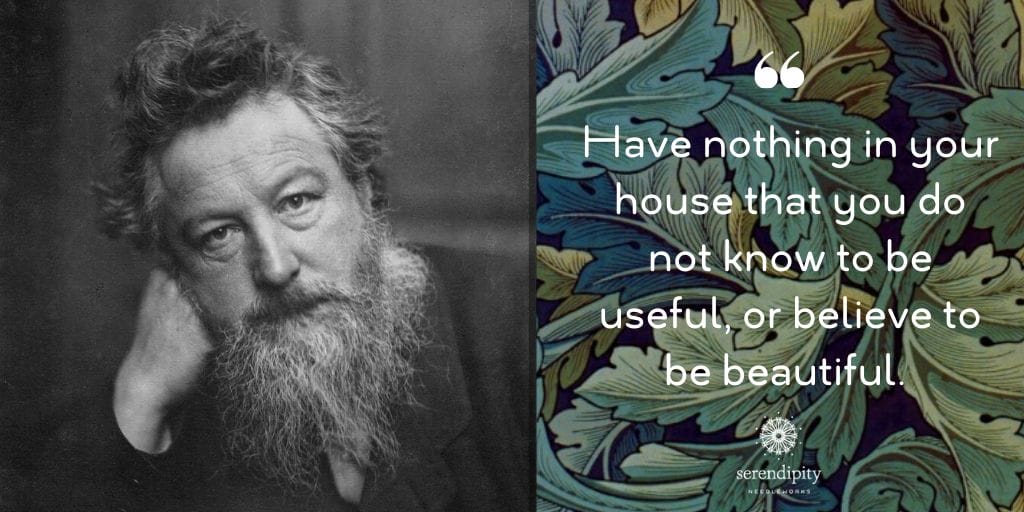
The gist of the book is that you should only keep things that bring you joy. It kinda’ reminds me of that famous William Morris quote, “Have nothing in your house that you do not know to be useful, or believe to be beautiful.” Wise words to live by, if you ask me. 😉

So, how does one go about de-stashing?
Well, for starters you need to organize what you have. Yes, it’s gonna take some time, but since we’re all staying home more these days, I can’t think of a better project to tackle right now – or one with a more positive outcome. Whether you’re a beginner or a seasoned stitcher, organizing your stash will help you know what you have, make it easier to find what you need, and inspire you to make projects you love. Ready to dive in? Terrific!
Let’s start with some tips for getting your stash under control.
It doesn’t matter what size your stash is…these eight tips will help you get yours under control so you can focus on the fun part — making beautiful hand made treasures for the special people in your life, and, of course, wonderful Y-O-U!
1. Take the time to inventory what you have.
A word of warning before you read any further… this tip may require a good bit of time if you’re like me and you have a substantial stash. Instead of trying to complete the task all at once, I’m going through a manageable quantity during each “sorting session”. I have quite a collection of projects stuffed in the closet, so I’m allowing 5 three-hour sessions to complete the task. Yes, that’s a lot of time, but I don’t want to rush the process. 😉
An easy way to sort your projects is to label five large boxes or plastic bins as follows: “PIPs” (projects in progress), “Love this Canvas/Have the Thread”, “Love this Canvas/No Thread Yet”, “Hmmm…Not Sure” and, finally, “What Was I Thinking?”
Take the time to look at and hold every canvas and thread before making your de-stashing decision about which box or bin it’ll land in. (This is the time-consuming part.) If the canvas or thread brings you joy, then it’s a keeper. Designate the rest for finding new homes. Remember to take your space constraints into consideration throughout the organization process.
2. Separate your PIPs from your paraphernalia.
Keep your projects in progress within easy reach and separated from the rest of your stash. If they’re hard to get to – or out of sight – you’re much less likely to work on them (heck, you might even forget about them!). A decorative basket or storage ottoman works well to keep those projects handy.
3. Decorate your home with your threads and canvases.
Keep your “Love this Thread” skeins easy to access by placing them in baskets, glass apothecary jars, etc. Unleash your creativity and let your imagination run wild…just remember to keep those treasured threads away from pets, moisture, and dust.
Hang your unstitched canvases on the wall in your needlepoint nook so you can enjoy them right now. They don’t have to be “finished” into something to be admired and they may even inspire you to complete some of your current PIPs. (Use clear push pins to pin them to the sheetrock. The holes they leave behind, when you’re ready to change things up, are teeny tiny and practically indiscernible.)
4. Explore Pinterest to discover creative storage solutions for your stash.
Living with your treasures is a source of inspiration, so search out unique ways to make them a part of your living space. Follow our Let’s Get Organized Pinterest board for ideas.
5. Decide how you want to sort your threads.
Will it be by color, by fiber type, or by thread manufacturer? Organizing your threads by grouping them into categories will help you find what you need quickly and easily once you’ve chosen a project. The key is choosing a system that appeals to you. (I sort my threads by color.)
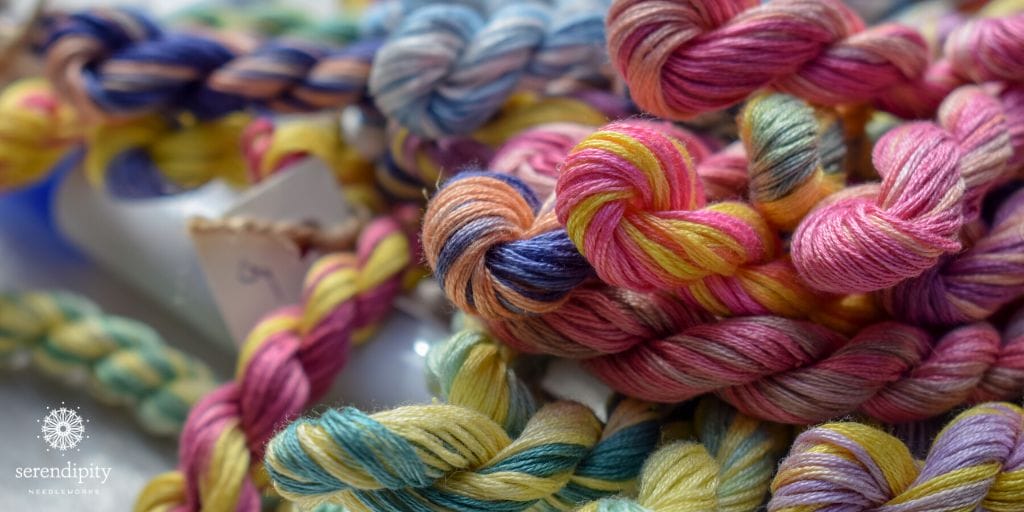
Getting rid of threads is one of the hardest parts of de-stashing for me. You see, I’m addicted to pretty threads. In fact, I think just about all threads are pretty and that means I have quite a collection. Right now, I have oodles of bins brimming with an assortment of different kinds of threads in a rainbow of colors. I’m not sure how I’m going to let any of them go… Can you relate?
6. Store threads of a single dye lot together.
After you decide how you’re going to sort your threads, it’s a reeaaalllly good idea to do some “sub-sorting.” In other words, if you bought several skeins of a specific thread in the same dye lot, bundle those threads together when storing them so you’ll know exactly where every last skein or card is when it’s time to start your project. Zip-top plastic bags are just the ticket!
7. Protect your treasures from critters.
There are all kinds of little creepy-crawlies that would love to make your beautiful threads their home.
I know…Y-U-C-K!
But it’s oh-so-true and you need to be sure and store your treasures in a clean, dry, cool place to keep the varmints at bay.
Think there may have been some ne’er do wells nearby? Seal the suspect thread in a plastic bag and pop it in the freezer for a day or two. Pull it out, let it thaw, and then repeat the process to ensure that your lovelies are critter-free.
8. Let it go!
Really, it’s okay to get rid of that perfectly good canvas that just doesn’t bring you joy anymore. You can sell your goodies on eBay or Etsy. It’s super easy to set up your own “store”. All you need is a camera and a computer. That’s what I plan to do with some of the things that no longer spark joy for me. (More about that coming soon.)
You can also send them to one of the de-stashing companies that will do all of the work for you. (Note: They take a commission, so be sure you understand and are agreeable with the split before sending anything to them.)
And, of course, you can always donate everything in the “What Was I Thinking” (and maybe even some of the “Hmmm…Not Sure”) box to charity, or give it to someone who’d find it delightful. You’ll make another person’s day brighter and you’ll have room for that gorgeous canvas that was calling your name just the other day.
Well, there you have it, my friend. Eight tips for de-stashing and organizing your needlepoint collection. It starts by deciding what you want to keep and then organizing what you have. Finally, letting go of the rest feels so very liberating – and it frees you up to begin the search for something that will put a twinkle in your eye. 😉
So, are you with me? Are you gonna join me and do some de-stashing of your own? Tell me in the comments below. I’d sure love to have some company.
Alrighty – that’s all for now. I’m off to the basement to start KonMari-ing my stash…
Until next time, happy stitching!
XOXO!


I just finished putting all my DMC floss and DMC pearl cotton numbers in my notes on my phone. I put them in numerical order by number and color beside it. When I need a floss I know where to find the number quickly and shop accordingly.
What a terrific idea, Bonnie! Thank you for sharing it with us! 🙂
Happy Stitching…
XOXO!!
Ellen
Ive been working on my shroom (she room) for a couple of weeks now. My laundry room has been converted so I have drawers for my canvases and threads. I love it! I have a ton of Patina (there must have been a sale). I’m wondering if I could use it to make cording. Your thoughts?
Hi Mary Lou!
It’s so nice to hear from you! How fun to have a special place that you can use for storing your needlepoint goodies!! 😉
Patina can definitely be used to make cording, but you’ll want to pay close attention while you’re twisting it since it’s such a slippery thread.
Have a terrific rest of your day… and happy stitching!!
XOXO!
Ellen 🙂
I think I have done step one – sorting by color family (I have the sparkly threads on their own rings. I think I need to refine a bit. I got more supplies (rings and bags) so I’m ready!
YAY! That’s terrific, @Marilyn!! The more you work with your system, the better you’ll be able to tell what works best for you and how to refine it to suit your needs. You’ve taken the biggest step though – the FIRST one!! Congratulations!!
XOXO!
Ellen
Where, oh where, do my needlework pictures go after I am no longer walking this planet? My taste may not be the same as my family; I have given my family permission to take what they like and think about donating anything leftover to: libraries for their walls, hospice, hospital, your doctors’ walls/office/home, local museums, veteran’s homes/hospitals, local school offices.
I love your idea to invite your family to share your finished needlepoints with libraries, hospices, hospitals, etc. after your time on earth is done – once they’ve selected the pieces that they want to keep, of course. Thank you for sharing it with us. 🙂
I am in the same mood. I have my canvases and finishing items on an Excel spreadsheet with 5 different tabs (finishing, kits, small canvases, large canvases, and counted designs. My threads are organized by color but I really need to get into them and destash the ones I probably won’t use. I have a box ready to go to destash. Now I need to make time to actually stitch instead of just organize!
Hi Gwen!
I love how you’re getting all of your needlepoint goodies organized. It can be quite the challenge, especially when your stash is on the larger side (like mine… eek!). 😉 And I also love how you recognize the importance of setting aside dedicated time for stitching.
Thank you for taking the time to share your thoughts with me.
XOXO
Ellen