")
Stitches, stitches, and more stitches! Oh. My. STARS! There are soooo many canvas embroidery stitches that you can use to embellish your hand-painted needlepoint canvases. So, how do you keep them all straight? Create a stitch notebook, of course! And that’s exactly what I’m going to show you how to do here today. Sound good?
Terrific! Let’s dive in…
The first thing you need to do to create a stitch notebook is to gather all of your supplies.
Here’s a handy materials list for you:
- 13 mesh needlepoint canvas with edges bound (10″ x 10″)
- 18 mesh needlepoint canvas with edges bound (10″ x 10″)
- water-soluble marking pen
- tape measure
- 10″ x 10″ stretcher bar frame
- tacks (for attaching canvas to frame)
- #22 tapestry needles
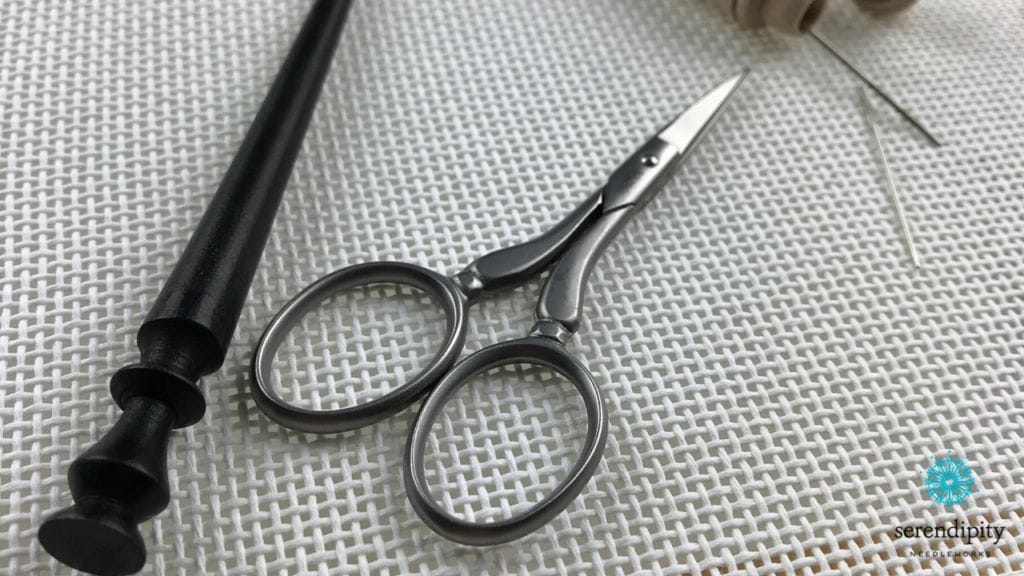
- embroidery scissors
- laying tool
- Fray Check or Thread Zap (for prepping novelty threads to prevent unraveling)
- double-sided tape, glue dots, or a stapler
- paper scissors (for cutting canvas into smaller sample squares)
- pen or pencil (for taking notes)
- needle minder (recommended)
- table/lap/floor stand (recommended)
- Serendipity Needleworks Stitch Notebook FunSheet (recommended – 1 FunSheet for each stitch)
- plastic sheet protectors (recommended)
- magnification device (optional)
- light (optional)
After you gather all of your supplies, it’s time to mark your canvas.
Divide your canvas into small squares so that it’s easier to identify which stitch is which. And click the blue box below to download my free guide on how to mark your doodle canvas. 😉
I’ll share some pictures of my doodle canvases in the Serendipity Needleworks free Facebook group, so you can see, firsthand, how I mark mine, too. (If you’re not a member, be sure and click the link at the bottom of this post to join us. We’d love to have you in our Circle of Friends!)

Work one stitch sample in each box.
Leave two canvas threads as a border around the perimeter of each stitch sample so your work doesn’t unravel when you cut the large piece of canvas into smaller squares.
As you’re stitching, take plenty of notes – or use my Stitch Notebook FunSheet. It’s part of the Stitch Notebook FunSheet Bundle that you can download for free when you click that blue box above. 🙂
You have a couple of options for working your stitch samples.
You may choose to fill in the entire box (minus the rows that you’re going to leave blank for cutting) or you may just work a few repeats of the stitch.
If you’re creating a stitch notebook for the Winter Wonderland Workshop, I recommend using the thread suggestions from the workshop. That’ll give you a good idea of how each stitch might look on your winter-themed canvases. If you’re creating a basic stitch notebook, use whatever thread you have on hand. 😉
After you fill a doodle canvas…
it’s time to cut out your individual stitch sample squares. (Note: You may choose to leave the large piece of canvas intact and label each sample square to correspond with your FunSheets.)
Remember to cut the squares apart between the two rows of canvas threads that you left unstitched – so your stitches don’t unravel. Attach your stitch sample to the corresponding FunSheet using a stapler, double-sided tape, or a glue dot. Then, insert your Stitch Notebook FunSheet into a plastic sheet protector and add it to a three-ring binder.
Organize your stitch notebook by design component, stitch family, or whichever way makes the most sense to you. 🙂
And be sure to tell me how you plan to organize your stitch notebook in the comments box below. I love hearing from you!
Okey dokey, that’s all for now, my friend!
Have a terrific rest of your week and I’ll see you on the Serendipity Needleworks Facebook page this afternoon at 3:00 p.m. CST for this week’s episode of Needlepoint TV.
Until then, happy stitching!
XOXO!

PS: Are you on our Serendipity Needleworks NeedleNotes list? That’s where we share tips, ideas, events, and cheer each other on and I’d love to have you join me, so click here to subscribe. I’ll see you there! 😉


