
What’s in your needlepoint workbasket?
Is your workbasket nice and tidy – or do you have the Scarlett O’Hara syndrome? You know…putting off until tomorrow what you really ought to be tending to today.
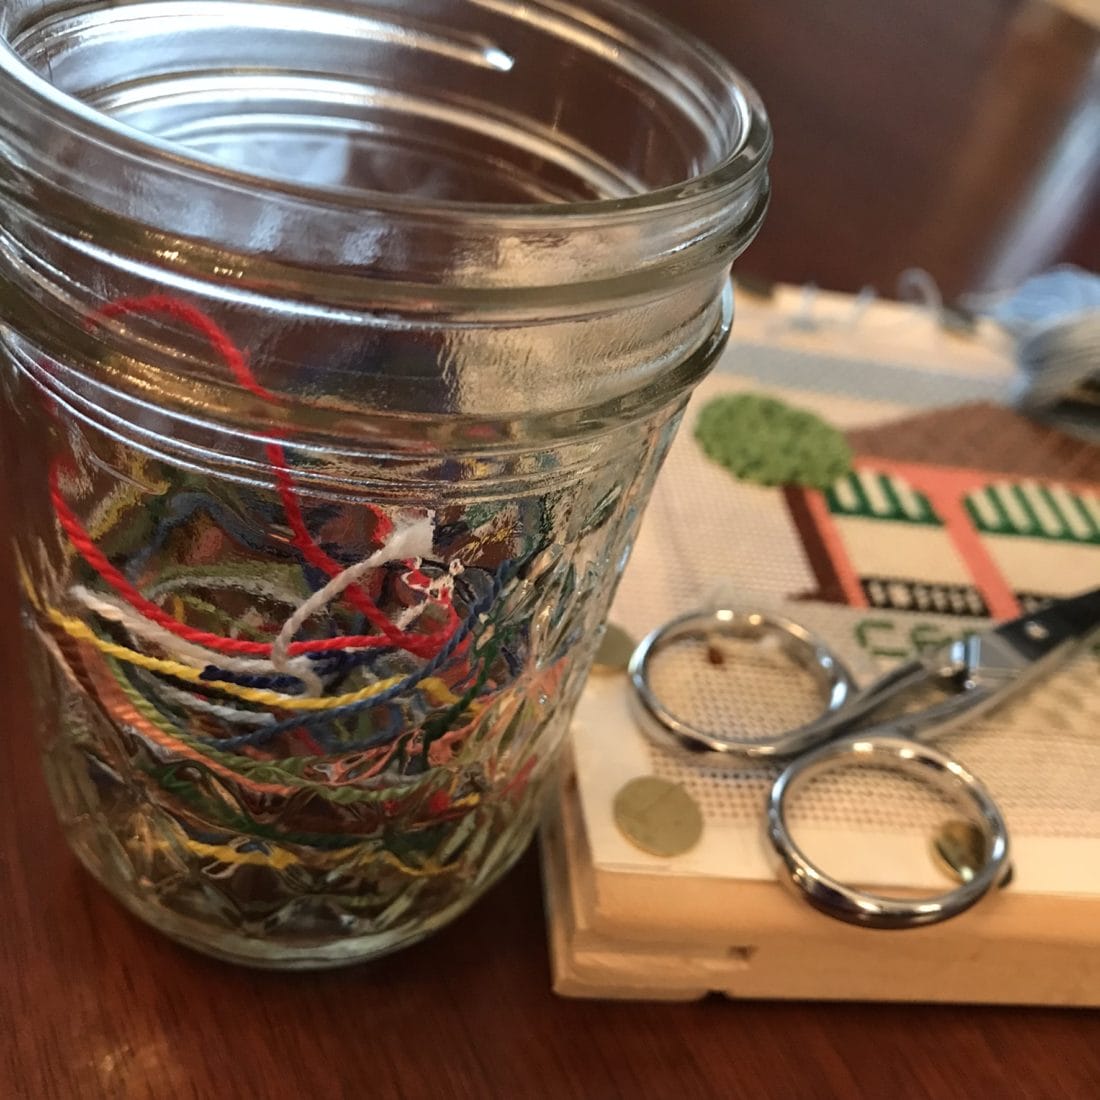
Seriously, when’s the last time you inventoried your workbasket? I mean, actually sat down and took stock of what you have stuffed in there – and what you’re missing? Well, there’s no time like the present to dive right in and start digging around to see what’s inside yours.
Every stitcher’s workbasket should include the essentials (and some of those “nice-to-haves”, too!). Indeed, there are lots of nifty little gadgets that can make working on all your needlepoint projects easier and more enjoyable. First, let’s take a look at the basics…
Of course, you need scissors – at least a couple of pairs.
You need a really good pair for cutting non-metal/non-metallic threads. They should have sharply pointed tips so you can clip threads in tight spaces.
My favorites are my 4″ Gingher embroidery scissors with large handles. (The holes are extra big, so my fingers don’t get stuck. That’s them in the picture below. They have a leather sheath, too, which is super-handy because there’s not much worse than finding your scissors “accidentally” cut part of your project – or your lovely project bag – while you were toting it around. (Oh, and there’s an added bonus…that little sheath protects the fine pointed tips from being damaged when they’re bouncing around inside your bag.)
You also need a pair of scissors for your metal/metallic threads. Any small pair of scissors will work. I have an old pair of dull embroidery scissors* that I use for this task. (If you’re using sharp-tipped embroidery scissors to cut your metal/metallic threads, be sure and use some type of sheath or point protector on them, too. They can still wreak havoc, even if they’re dull.)
(*I just discovered a new option – very reasonably priced embroidery scissors with a serrated blade. SQUEEE!!! I ordered a pair and will share my thoughts with you after I’ve test-driven them for a while.)
And you need an assortment of needles in your workbasket.
Yes, you need an assortment of different sized tapestry needles, but did you know that you really ought to have a variety of different kinds of needles in your workbasket, too?
What kinds of needles do you need?
My best suggestion is to keep Beading, Bullion, Chenille, Crewel, Mattress, and Milliners needles in a pouch. Then, you’ll have any kind of needle you might need right at your fingertips.
Beading needles are used to attach beads to your canvas.
Duh, right?! (Tee hee!) 😉 My absolute all-time favorites are size 10 beading needles by Bohin. I don’t use anything else.
Bullion needles are used for making bullion knots.
Colonial Needle has a terrific set that’s perfect for needlepoint. The set includes 3 different lengths and each needle has a blunt tip – just like a tapestry needle.
Chenille needles have a couple of purposes in needlepoint.
I use them for couching threads – and they’re my “go-to” needle for all kinds of silk ribbon embroidery. They look very much like tapestry needles, but they have a sharp point.
Crewel needles are the bees knees for surface embroidery on fabric, …
but they also serve a purpose in needlepoint. They’re much smaller (both in length and diameter) than tapestry needles. They’re terrific for gathering ribbon and attaching appliqués and findings. And they’re also great for couching.
Wonder why you need a mattress needle in your worksbasket?
I thought you might! 😉 A mattress needle is a really good substitute for a laying tool. Mattress needles are a lot less expensive than laying tools, too, which means that they’re a terrific option for beginning stitchers. Just thread a ribbon through the eye to keep track of it.
And Milliners needles are great for adding tiny details…
(like French knot eyes, bullion stitch butterfly antennae, etc.) to your projects. They’re the same diameter – from the eye end to where they taper at the tip. Why does that matter? Well, when you’re working French knots and bullion stitches, the wrapped thread slides down and over the eye ever so much easier because of that nifty little feature.
Whew! That’s a lot of info, huh?!
Next time, we’ll take a look at some of the other workbasket essentials, so be sure and sign up to receive my weekly updates. I don’t want you to miss anything!
Happy stitching!
XOXO!!!

PS: Be sure and check out the Serendipity Needleworks Facebook page, too! There’s always something fun or inspirational there.
PPS: Looking for a fun summer adventure? Join me for the Threadventure, a virtual vacation for stitchers. Click here to read more about it.


Im in
YAY! I’m so glad to have you joining me, Libby! 🙂
Lots of good information to have.
Thank you, Patricia!!
XOXO!
Ellen
Thanks for the info on all the needles!
You’re very welcome, Betty! I’m so glad you found the info helpful.
XOXO!
Ellen
Hi there! I just joined the Stitchers Club and I’m excited to begin to learn some more advanced stitches. A big question is I watched your presentation on laying tools. I’d love to buy one like yours but I can’t a source. Would you send me info on where to buy it??
Hi Karlyn!
Welcome aboard! It’s great to have you as a new member. Here’s the link to the kind I used in the video: https://serendipityneedleworks.link/laying-tool-source
I hope that helps and if you have any questions, please send us an email to [email protected]!
Happy stitching!!
XOXO!
Ellen
I never thought of some needles for needlepoint. Many thanks!
You’re very welcome, Jeannette! I’m so glad you found the information helpful. 🙂
XOXO!
Ellen