
Now that you have your stretcher bar frame put together, you might be wondering how to attach your needlepoint canvas to it. I’m going to share how I do that here today, but there’s a decision you’ll have to make first…
You’ll want to ask yourself if you are going to stitch with your canvas on top of the stretcher bar frame or if you are going to “stitch in the well”.
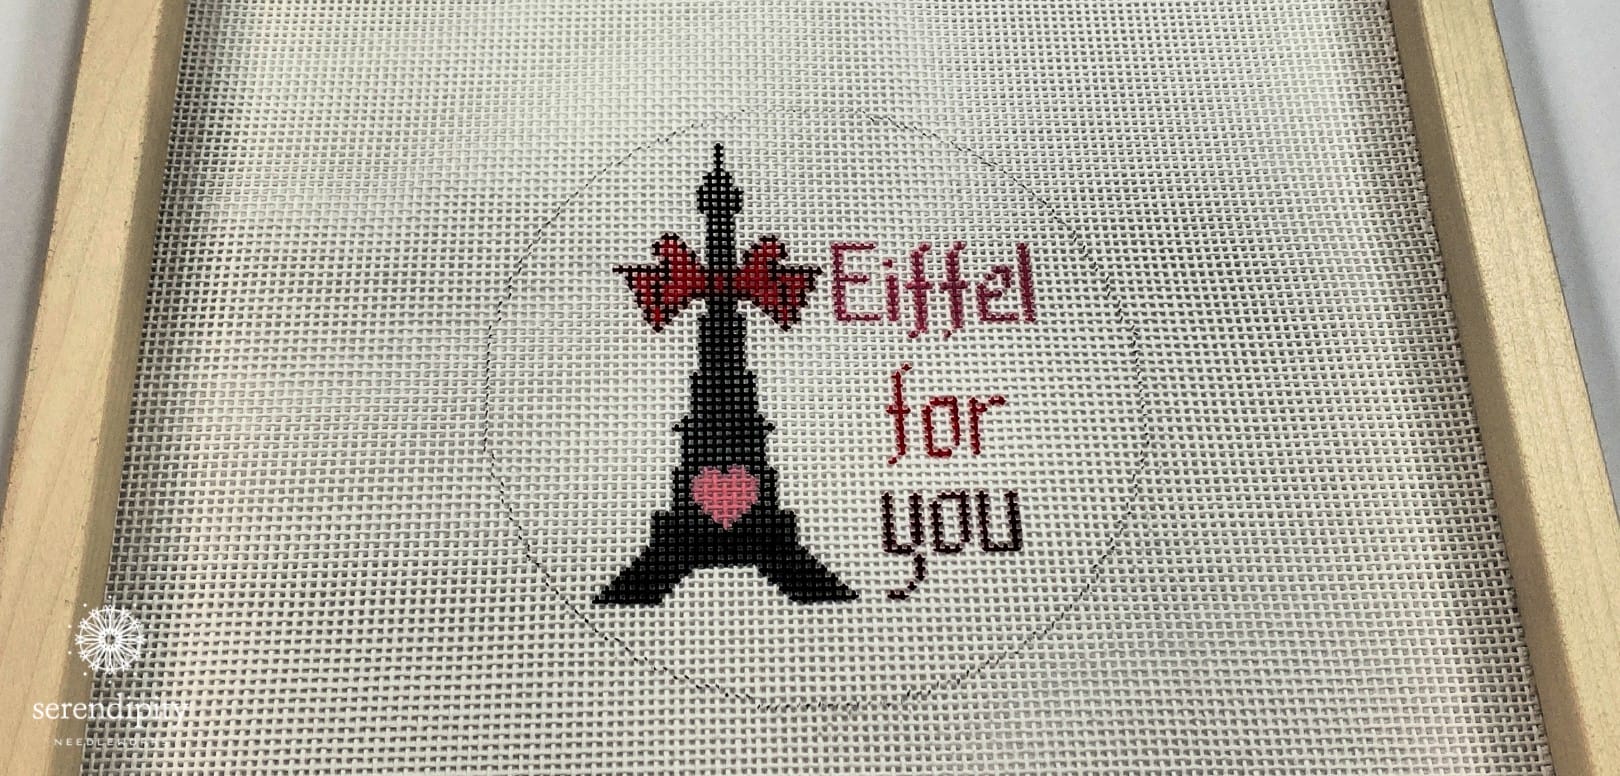
What the heck is “stitching in the well”, you ask?
That’s a terrific question!
It’s when you attach the canvas to the frame so that the stretcher bars are on top of the canvas and the design is face up inside the “well” created by the bars.
Here’s a picture of a canvas mounted “in the well” so you can see what I’m talking about…
Stitching in the well makes it easier to secure your threads on the backside of the canvas.
And some stitchers feel that stitching in the well is more protective of your work. I agree that it can be, but if you’re careful with your canvas, either method will work just fine.
Personally, I (almost) always stitch with my canvas on top of the bars.
The only time I might be tempted to stitch in the well is if I’m doing a lot of silk ribbon work on a piece.
It’s up to you, though, and you should do what’s most comfortable for you. 🙂
On a side note, most artists will include a 2″ frame of blank canvas around the painted design, but if you’re working on blank canvas, you’ll want to make sure that you cut your canvas two inches larger than the design area.
Now it’s time to actually attach your canvas to the stretcher bar frame…
And this is where a really funny looking little tool comes into the picture. It’s SUPER handy and it really makes using tacks a WHOLE lot easier!
It’s a Corjac tool and it comes with the little round wooden ball-type gadget and a gizmo for removing the tacks. The set even includes a box of brass tacks. Pretty cool, huh?! 😉

When securing my canvas to the stretcher bar frame, I lay it on top of the bars and make sure it’s centered. (There shouldn’t be more than 1/4″ of canvas hanging over the edges.)
Next, I place the first tack in the center top, then the center bottom, and then the center of each side, ensuring that I am pulling tightly as I place each tack.
After I have tacks in place in the centers of all four side, I secure the corners. Then, halfway between the corner and the center on each side, I place a tack. I continue inserting tacks through the canvas into the stretcher bars until my tacks are no more than 1″ apart.
There’s a new episode of Needlepoint TV™ over on my YouTube channel where I demonstrate how to set your canvas up on stretcher bars, so be sure and check it out. (When you watch the video, you’ll see that it’s a whole lot easier than it sounds! 😉 )
If you don’t use a frame for your needlepoint projects, I hope you’ll give it a try. I think you’ll like the results.
Okey dokey, my friend. That’s all for now.
Thank you ever so much for joining me here and I’ll see you again soon.
XOXO!!

PS: Be sure to subscribe to my YouTube channel so you don’t miss any new episodes of NeedlepointTV™!


Thanks so much for this written explanation. It’s very clear. I wanted to also watch your video on framing canvas. Actually, I would like to watch all of your videos as I am new to needlepoint. I can’t seem to find a description for each of your videos. Am I missing something?
Hi Sharon!
Welcome to the wonderful world of needlepoint! My videos are on my YouTube channel HERE. Please let me know if you have any questions. I’m happy to help.
Have a wonderful weekend and happy stitching!
XOXO
Ellen