
Do you know what needlepoint stitch pathways are? (It’s okay if you don’t – that’s what we’re gonna talk about here today.) Before we dive into this week’s topic, though, let’s start by defining stitch diagrams. A stitch diagram is an illustration that shows you the individual parts of a canvas embroidery stitch (aka, decorative stitch). Some stitch diagrams have letters and numbers on them, and that makes them soooo much easier to use, especially if you’re new to needlepoint or have been away from it for a while. But sometimes, you come across stitch diagrams that don’t have letters or numbers on them. Then what?
That’s a terrific question! In fact, that’s where the needlepoint stitch pathway comes into the picture.
So, what exactly is a needlepoint stitch pathway?
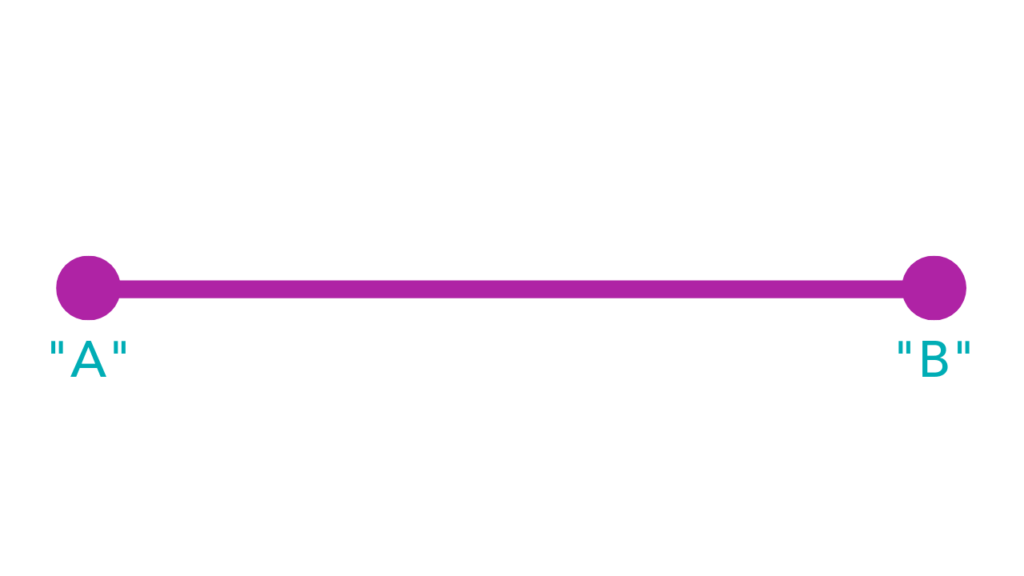
It’s really pretty simple – it’s the order in which you execute each part of a stitch or stitch pattern. Think of it like walking along a path to get from your house to your neighbor’s house. You start at point A, your house, and you end up at point B, your neighbor’s house. Make sense? Terrific!
 Now, before we move on, I want to make sure that you’re also clear on “traveling” because it’s different from a pathway.
 Now, before we move on, I want to make sure that you’re also clear on “traveling” because it’s different from a pathway.
“Traveling” and your “travel thread” pertain to the actual thread you’re using to stitch with. It’s the way the thread lays on the backside of your canvas as you stitch. Traveling is the act of carrying your thread across the back of your canvas and the travel thread is exactly what it sounds like – the thread itself.
When you use a stitch diagram that has letters or numbers on it, follow it like a roadmap that you might use to help you get from, say, Dallas to Denver if you were going on a road trip. The letters/numbers on the stitch diagram are the visual cues that guide you from the starting point, along the path, and to your final destination, which is the completion of the stitch.
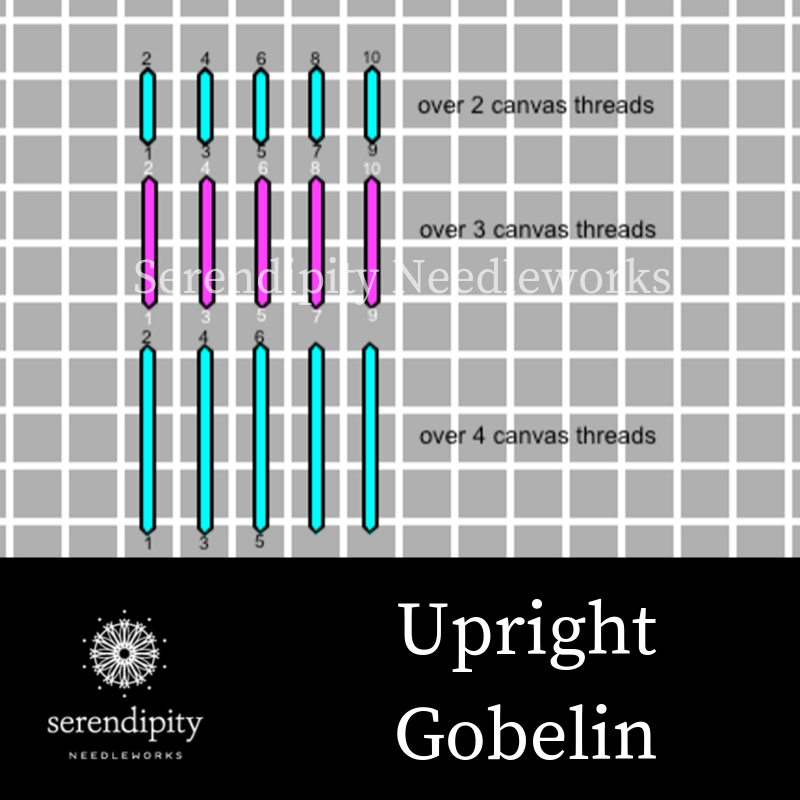
Just like on this stitch diagram for the upright Gobelin stitch…
It’s those stitch diagrams that don’t have letters or numbers on them that can throw you for a loop.
I know – I’ve been there! It can be incredibly frustrating to encounter a stitch diagram like that if you don’t understand needlepoint stitch pathways, but I’m going to share some tips that should help make navigating those “number-less” and “letter-less” stitch diagrams a whole lot easier. (Shout out to Amy Bunger from whom I first learned about needlepoint stitch pathways.)
First, though, you need to know that there are six primary types of needlepoint stitch pathways that your thread can follow…
- satin
- running
- double running
- backstitch
- run and back
- conservative
Why do you need to know that? Great question! And the short answer is because each different kind of needlepoint stitch pathway has its own unique traits that can affect the overall look of your finished project.
Consistency is key when it comes to your needlepoint hobby. Establishing and maintaining a single needlepoint stitch pathway when working a particular pattern is crucial because skipping around and changing pathways mid-stream can result in lumpy bumpy looking work. And nobody wants that, right?! 😉
Now, back to those needlepoint stitch pathway tips…
- Stitch from “clean” hole to “dirty” hole whenever possible. Not sure what that means? No worries… a clean hole is simply a canvas hole that has no thread resting in it and a dirty hole, well – it does have thread resting in it, from a previously worked stitch.
- And at the risk of sounding like I’m harping on the consistency issue… whenever you’re working stitches that have more than one layer, make sure that you’re consistent in the order in which you stitch each layer. For example, if you’re working Smyrna cross stitches, make sure that the top legs of each individual stitch unit are all going in the same direction. Otherwise, your work will look messy.
- When you’re executing a “run and back” needlepoint stitch pathway, use a chenille needle instead of a tapestry needle so you can easily pierce your working thread. Why do you want to pierce the working thread? I thought you’d never ask! 😉 When working this kind of pathway, you want the thread to stay “inline” and piercing it will do the trick.
- Here’s that old “consistency” issue again – always, always start and end with the same kind of needlepoint stitch pathway. In other words, if you begin using a running pathway, end up using that same running pathway. Don’t switch gears mid-stream and start using a different kind of pathway.
- Keep canvas holes “clear” of any travel threads whenever possible. And if you can’t avoid the holes, be consistent. (Tee hee – there’s that word again!) How do you do that? Easy peasy – just repeat the travel in such a manner as to create a duplicate pattern in that area.
And there you have it – an introduction to needlepoint stitch pathways and why you need to know about them.
Be sure to visit our Serendipity Needleworks Facebook page where you can get oodles of other fun needlepoint tips.
Until next time, happy stitching!
XOXO!

PS: If you enjoyed this blog post, click here to get my weekly emails where I share even more stitch-y goodness. 😉


